

 "Pin It")

A couple of months ago Google announced the kick-off for the kitkat OTA’s for both Nexus 7 and 10. The 2012 Nexus 7 WiFi users can now flash the 185 MB KR160 Android 4.4 that was currently released no matter how our rooting or bootloader situations are. In case you have modified the system partitioning in a way the OTA won’t apply cleanly, you have to revert those settings and wait for the factory image. It’s from this stage that you can now continue with the flashing process which includes the following;
Step 1
Ensure that you have a microUSB cable within reach, a PC or Mac and they are running the latest Android 4.3 version. More still, make sure you have already downloaded the Android SDK together with the Android 4.4 update zip for your file respective device and have all the devices installed.
Step 2
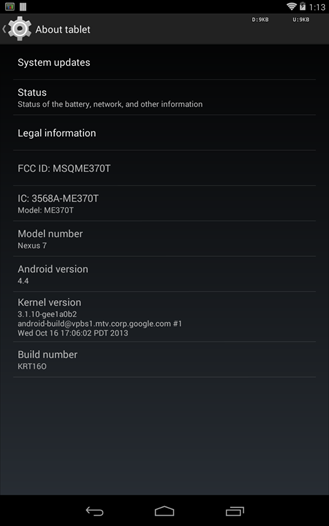
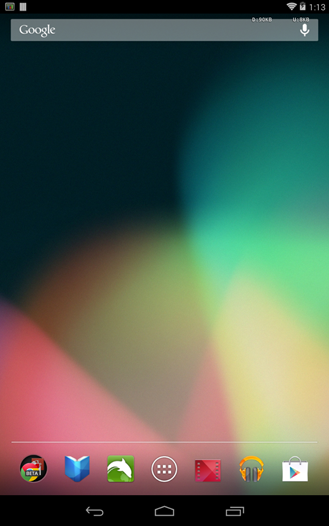
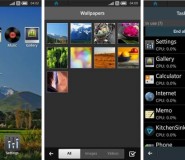
Proceed to Settings => About Phone=> Click on build number several times until the message ‘You are now a developer ‘get displayed. Move from ‘About Phone’ scroll down and find the ‘Developer Options‘’ settings. Click on it and enable the USB debugging. Attach your tablet to the computer and click on ‘Always connect to the computer’ and accept hence disconnect the cable from the computer. You are supposed to turn off the device.
Step 3
Go back to your computer and unzip the Android SDK that you should have installed or returned to the ‘what you need’ section and ensure that you have completed all the required procedures before starting to run.
Step 4
Look for the Zip file with the Android 4.4 update and rename to something simpler like Kitkat and move this file to the Android SDK in the folder titled ‘ platform tool’. This will make everything easier when the command prompt is used.
Step 5
Go back to your tablet and through the on the power plus the volume buttons at the same time, you will now be faced with the fastboot mode. Proceed with clicking the volume up button until you see the words ‘recovery mode’. Press the power button to accept and it will show the Google logo. Then you will be guaranteed with by an Android with an exclamation including the words ‘no command written’. By the use of a micro USB, connect the device to your computer.
Step 6
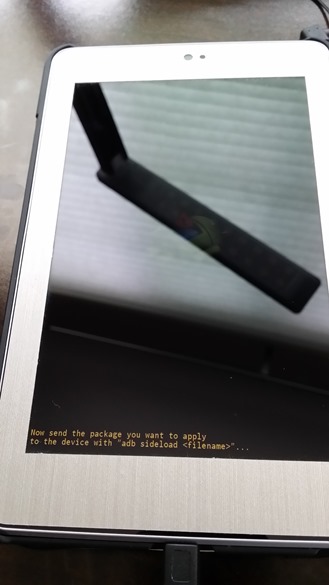
Proceed by holding the power button down first and quickly hold the volume up button while the power button is still held down. It can be quite difficult at first since it will need you to work on you timing before getting it right. You will use the volume button to down to the ‘apply update from option and hit the power button to accept.
Step 7
Go back to your computer for the final steps; Open the folder with Android SDK and into the platform tools folder. If you are using Windows Vista/7/8, all you need to do is to hold down the shift and right click on any empty space. You will see ‘Open command window here’ option but if it is Linux, OSX or Windows, open a command prompt hence navigate to ‘platform tools’
Step 8
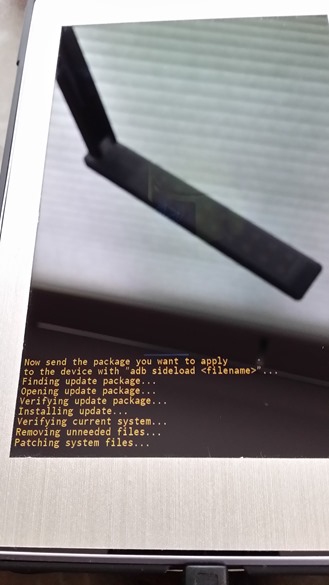
Type ‘adb sideload Android KitKat’ without quotation marks, use whatever name to substitute the zip name containing Android 4.4 for your device. When through, you can now relax and wait watching your device update if it does not move to the trouble shooting section to see a few problems that you could be facing.


How to flash Android 4.4 Kitkat on Nexus (2012 and 2103)