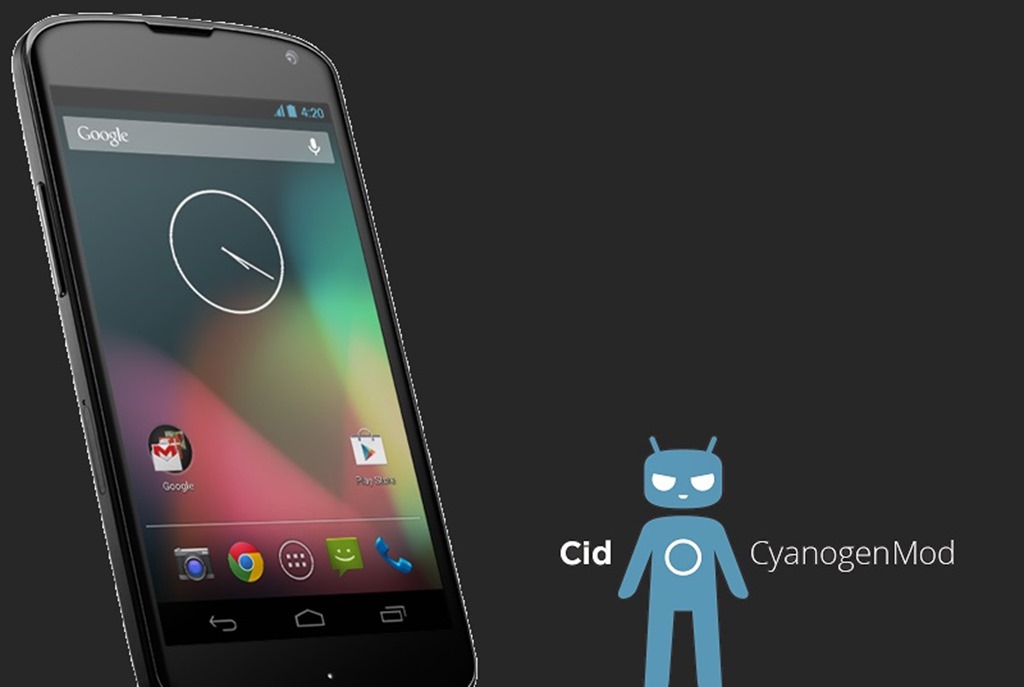
Custom ROMs are a good way to keep older devices with a slower hardware running the newest versions of Android. Here comes the CyanogenMod 10.2, which is a customized ROM based on Android Jelly Bean firmwares. Besides its fancy, simple look, CyanogenMod offers a better performance and reliability of your device. It also provides a lot of new features that are not present in the stock versions of Jelly Bean. Today we’re showing you how to install CM 10.2 Android 4.3 Jelly Bean version on your Google Nexus 4.

Note! This is sort of an alpha version of CM 10.2 so you’ll probable notice some issues or bugs using it. This tutorial is only for the Google Nexus 4. We don’t take responsibility for what’s done to your device. Follow the below steps carefully in order to not brick your device.
Prerequisites
 Download and install the correct USB drivers.
- Install and configure Android SDK on your PC. To make sure it’s been properly configured, open CMD and type in: “adb”.
- Enable USB debugging on your Nexus 4 by navigating to Settings > Applications > Development > USB debugging.
- Fully back app your data and settings as this process will wipe all your information away.
- Make sure you have at least 60% battery left.
- Download CM 10.2 Nightly ROM and Google Apps addon.
Important! Your device has to have an unlocked bootloader and a custom recovery installed on it. To do so please follow our guide on how to flash TWRP Recovery or CWM Recovery on your Nexus 4. If you have a locked bootloader, however, please follow these steps prior to installing a custom recovery:
- Reboot your Nexus 4 in bootloader mode by pressing Volume Down + Power buttons simultaneously.
- Connect your phone to the computer via USB cable.
- Open CMD window and type in the following code: “fastboot devices”. If a device ID is displayed – you’re good to go. In other cases verify that the drivers are correctly installed.
- Type in the following command: “fastboot oem unlock”. This will initiate the unlocking process.
- When the Warning screen appears, highlight and select Yes.
- In a couple of seconds, your Nexus 4 shall have an unlocked bootloader.
Flashing CM 10.2 Android 4.3 Jelly Bean
- Copy earlier downloaded .zip files on your SD card.
- Shut down your phone and boot it into Recovery Mode. Press and hold down Volume Down + Home + Power buttons simultaneously until the Nexus 4 logo appears. Either CWM or TWRP recovery should now appear on the screen.
- Optional. Go to backup and restore and perform a Nandroid backup. This way you will be able to restore to your original ROM later.
 Return to the main screen and select wipe data/factory reset and then confirm by selecting Yes. Please do the same process only with wipe cache partition this time.
- On the main screen go to advanced, select Wipe Dalvik and wait till the wiping process is done.
- Return to recovery menu and select Install Zip from SD card. Navigate using the Volume Up/Down and Power buttons to the folder where the two .zip files are located. Install the CM 10.2 ROM first and then the Google Apps addon zip. This step will take you a few minutes, please be patient.
- Once the installation process is done, return to the main recovery screen and select reboot system now.
Keep in mind that the first boot of a freshly installed ROM a little bit of time and the screen might stay black for a couple of minutes. Please be patient and don’t interrupt the device from booting.

Congratulations! You’re now running CyanogenMod 10.2 Android 4.3 Jelly Bean version on your Nexus 4. Please let us know how this ROM runs on your device in the comment section below.


How to Install CM 10.2 Android 4.3 Jelly Bean on Nexus 4