

Apple has implemented iCloud in iOS 5 and since then iOS users can store the data from all their devices in a cloud and back them up as well. Your iCloud account includes 5GB of free storage for Mail, Documents in the Cloud, and device backups. Your apps, books, music and photo stream don’t count against. Today we’re going to show you how to migrate from your old iPhone to your newly purchased iPhone 5.

First of all, let’s talk about what iCloud backs up. You don’t want to miss a thing from your old device, so take a look at this list of what iCloud backs up:
 Purchased music, apps, movies, books, and TV shows
- Photos and videos in your Camera Roll
- Device Settings (sounds, brightness, keyboards, language, etc.)
- App data
- Home screen and app organization
- iMessage and other text messages
- Ringtones
Note! Bear in mind that iCloud doesn’t back up your photo albums synced from your computer but only the photos and videos from Camera Roll. You then may re-sync them manually with your new iPhone via iTunes.
Now follow the following steps to back up your old device running on iOS 5 or later into the cloud:
- Make sure you have a wireless connection.
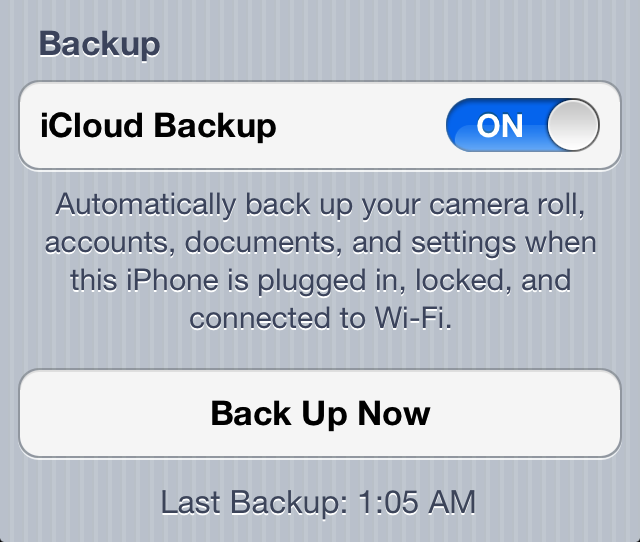
- Navigate to Settings > iCloud > Storage & Backup and switch iCloud Backup to On if it wasn’t already.
- Now the back up your iPhone by taping on Back Up Now. This process might take up to 15 minutes depending on your network speed and the amount of information that needs to be backed up.
- After the back up is finished, you’re ready to set up your new iPhone 5. When you boot the device for the first time you bump into Setup Assistant. Go through its steps and when prompted, connect to your Wi-Fi network (important!).
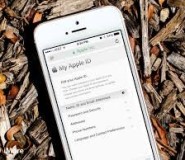
- On the Set Up iPhone screen, choose Restore from iCloud Backup option, tap next, and enter your Apple ID and password.
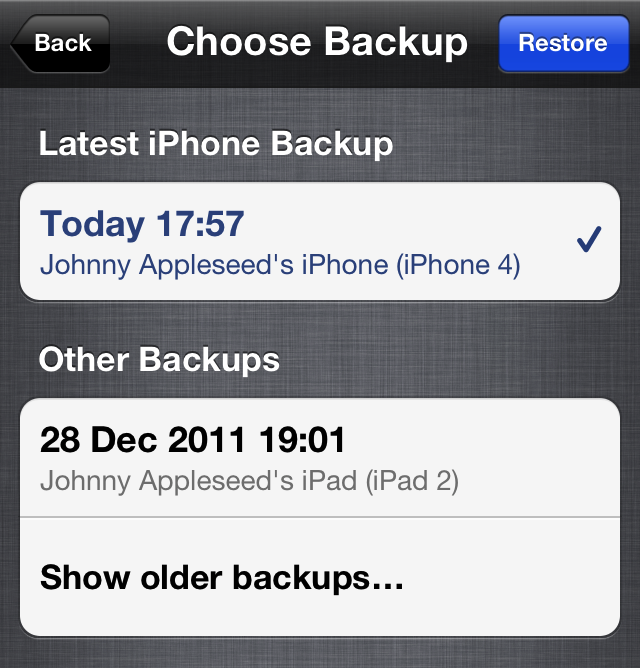
- A list of your iCloud backups should now appear. Select your latest backup and tap Restore.
When the restore is complete, your iPhone 5 will reboot. You should connect the iPhone to iTunes in order to sync data (such as music, apps, videos, etc.) that was on your old one.
That’s it! Now you’ve successfully migrated to your new iPhone 5. If some of the above steps are not clear, don’t hesitate to write in the comment section below.


How to Transfer Data From Your Old iPhone To iPhone 5 Using iCloud