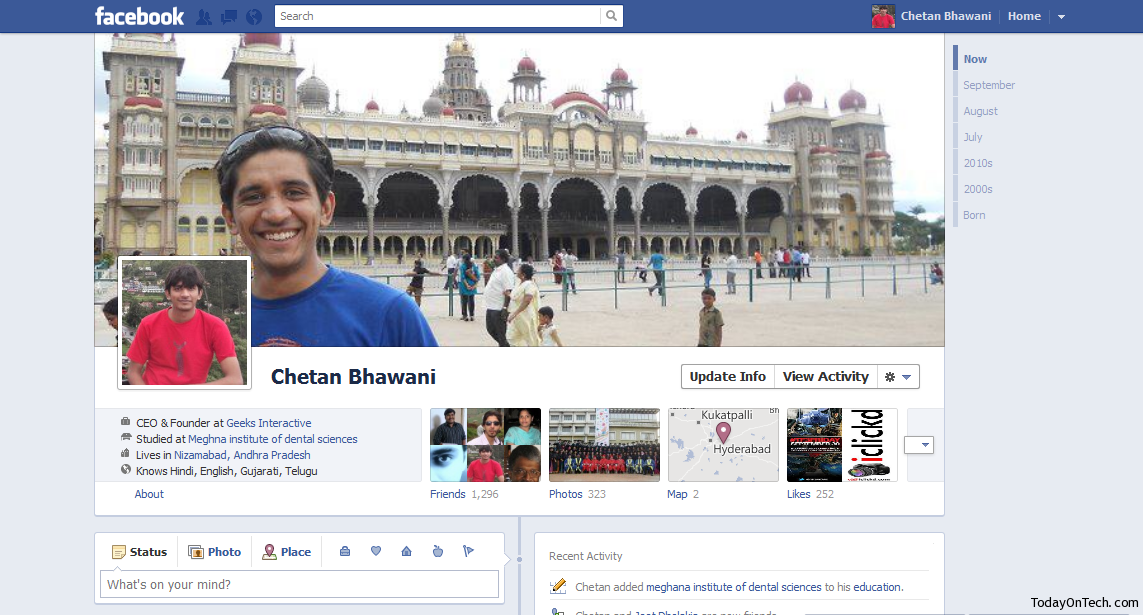
Facebook Timeline, something totally new and beautiful, is out for the developer accounts on Facebook and would take a weeks time for the feature to go live for public. But for those who still don’t know about it, here is an image that can explain how the timeline appears –
With the new features on the Facebook always available to a limited number of people, except with some idea that could let others too get a touch of it, and so here is a pretty simple process using which you too can activate the timeline for your Facebook profile.
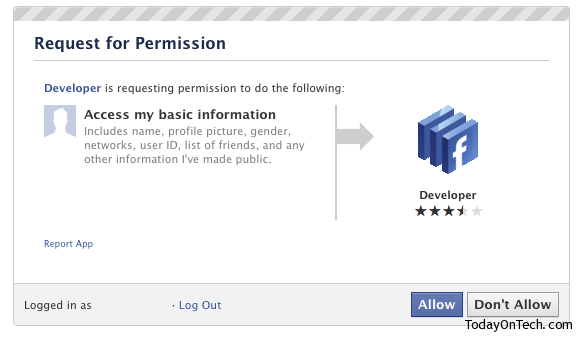
To enable the Facebook Timeline, you need to activate the Developer status for your account. For that, you need to be logged into Facebook and then enable the Developer Mode. For that, you need to search for the Developer app and enable the app. That is similar to any other app enabling, where you need to hit “Allow”.
Once you are done with the Developer mode activation, go to the App page and then create a new app, by entering a name, namespace and the description. This application will be limited to your viewing so you don’t need to worry about it. Once you have created the application, you need to go to the developer page once again.
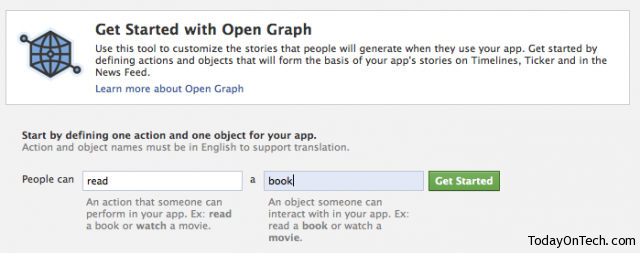
Here, you need to click on the “Open Graph” header, so that you enter the action that people can do when they use the app. Enter some action, it’s not important but just a step to make you get a status of developer. Once you enter that, hit on “Get Started”.
Once you are done with that, you need to wait for a couple minutes and then open the Facebook homepage by entering facebook.com in the address bar and hit enter. You would see an invite on the Facebook header for the Timeline. Accept that and you would see the Facebook Timeline rocking on your profile.





How to Enable the Facebook Timeline For Your Profile